Up and Over Exercise Guide for Safe At-Home Training
 15 min
You've found a step, bench, or sturdy platform at home and want to turn it into a useful workout. The movement looks simple in an athlete's video, but the right version depends on your balance, joint history, training experience, and whether you want strength, coordination, or a fast conditioning challenge.
The up and over exercise is best understood as a movement family, not a single fixed drill. You can step slowly, travel sideways, or add a controlled bounce. The safest starting point is the version you can repeat with quiet landings and steady breathing.
Table of Contents
- What the Up and Over Exercise Actually Is
- How to Perform the Up and Over Exercise Step by Step
- Choosing the Right Variation for Your Goal
- Regressions and Progressions to Scale Any Fitness Level
- Programming and Form Tips That Keep It Safe
- How Up and Overs Compare to Simpler Step Drills
- Your First Week of Up and Overs and Common Questions
What the Up and Over Exercise Actually Is
An Up and Over combines three actions: you move onto a raised surface, control your position on top, and return to the floor. The surface might be a low step, a bench, or another stable platform. The movement can stay close to the ground and feel like controlled strength training, or it can become a faster drill that challenges conditioning and coordination.
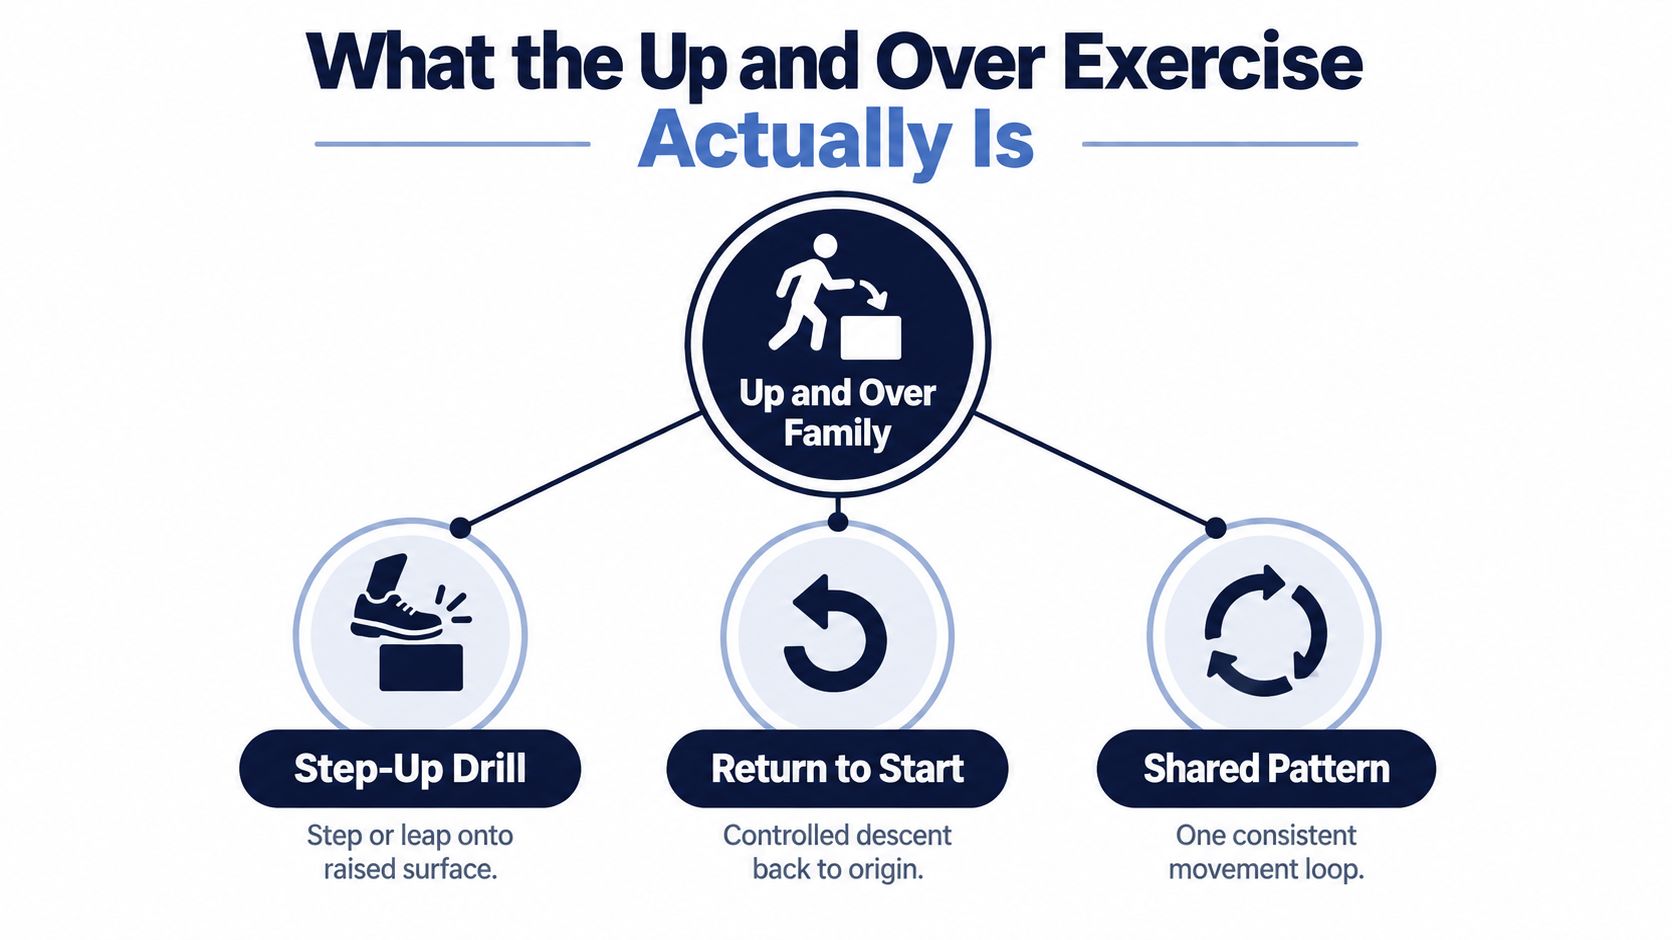
The shared movement pattern
Every version has a takeoff, landing, and exit. In a basic step-and-switch, one foot steps onto the platform and the other follows. You then step down under control and repeat from the opposite side. A lateral version changes the direction, while a conditioning version increases speed and may add a small leap.
The main muscles usually include the quadriceps, glutes, calves, hip abductors, and core stabilizers. Your supporting leg and trunk work to keep your knee, pelvis, and torso organized while your feet change position.
This makes the drill useful for beginners building leg strength, people returning to exercise, and home trainers who want a compact movement with several scaling options. It isn't automatically suitable for everyone. Recent knee, ankle, or lower-back problems, severe balance difficulties, or pain during landing are reasons to choose a gentler alternative or seek clinical advice before trying it.
Exercise participation has historically included accessible movement rather than only formal gym sessions. U.S. labor data found that walking was the most common exercise activity among people who exercised on a given day, and active people spent an average of 1.5 hours exercising on those days in the report's historical comparison, as documented by the U.S. Bureau of Labor Statistics. After reading this guide, you'll know how to perform the basic version, choose a suitable variation, scale it, and recognize when a simpler drill is the better choice.
How to Perform the Up and Over Exercise Step by Step
Start beside a stable platform around 6 to 12 inches high. It must not slide, wobble, or tip when you push through it. Stand facing the platform with your feet about hip-width apart, toes pointing toward it, and your hands relaxed at your sides or held lightly in front of your chest for balance.
Place your lead foot on top with the whole foot supported. Push through the foot rather than springing from your toes, and let the knee track in line with the ankle. Your torso may lean slightly as you begin, but avoid folding forward from the waist. The aim is to move your body over the foot, not to throw your chest at the step.
As you rise, press through the heel and stand tall on the platform. Pause briefly when both feet are supported. This pause gives you time to feel whether your pelvis is level, your knee is stable, and your balance is under control. Exhale during the upward drive, then inhale as you step down.
Step off with the opposite leg. Bend the landing knee softly and let the hip absorb the descent. A quiet foot usually means you're controlling the drop; a hard stomp suggests the platform may be too high or the movement is moving faster than your current control allows.
Keep your ribs stacked over your hips, shoulders away from your ears, and gaze forward rather than staring down at your feet. Looking ahead helps you maintain posture and reduces the temptation to collapse your upper body over the platform.
Form checkpoint: If your torso dives toward the platform or your landing sounds heavy, slow down before you add height or speed.
Two faults deserve immediate attention. First, leaning excessively over the step shifts the movement away from the working leg and makes balance harder. Second, stomping the descent increases impact without adding useful control. Reduce the platform height, shorten the range, or return to a simple step-up until each repetition feels repeatable.
Choosing the Right Variation for Your Goal
The best Up and Over variation is the one that matches your goal and your tolerance for balance, speed, and impact. Treat the choices as a continuum rather than a ranking.
| Variation | Primary Goal | Joint Load | Best For |
|---|---|---|---|
| Step-and-switch | Leg strength and control | Lower when performed slowly | Beginners, returners, and joint-conscious training |
| Lateral Up and Over | Side-to-side coordination and hip control | Moderate, depending on height and speed | Field-sport movement and frontal-plane skill |
| Conditioning or plyometric Up and Over | Cardio, speed, and power | Higher because of faster landings | Experienced trainees with sound mechanics |
Step-and-switch
Choose the basic version if you want a clear starting point. It develops single-leg control without requiring you to jump, and you can make it harder by slowing the descent or increasing the pause on top. It's also the easiest version to monitor because your feet remain in contact with the surface and floor.
Lateral Up and Over
Stand beside the platform and place the nearer foot on top, then bring the trail leg across before stepping down on the opposite side. This version asks the hip abductors and ankle stabilizers to manage side-to-side motion. Keep the platform low until you can control the pelvis and prevent the knee from drifting inward.
Conditioning or plyometric version
A faster version adds a small bounce or leap onto the platform, followed by a quick exit. It can raise the cardiovascular demand, but speed magnifies poor mechanics. The independent Up and Over exercise guide from Get Healthy U describes how changes in speed, height, and loading can shift the drill between conditioning and strength emphasis.
Ask yourself three questions before choosing: How long have you trained, how do your knees and ankles tolerate stepping, and is today about strength, skill, or sweat? If the answer is unclear, start with the step-and-switch.
Regressions and Progressions to Scale Any Fitness Level
Scaling works best when you change one variable at a time. You can alter contact with the platform, height, speed, or external load. A harder variation isn't automatically a better variation if it causes your knee to cave, your hips to drop, or your breathing to become disorganized.
Three useful regressions
Tap instead of step-up. Keep one foot grounded while the other foot lightly taps the platform. This reduces the amount of bodyweight transferred onto the raised leg and lets you rehearse the direction of movement without committing to a full ascent.
Lower the platform. Use a surface around 4 to 6 inches, such as a sturdy low block, to reduce the range of motion and ankle demand. Confirm that the object is stable before every set.
Slow the tempo. Move up deliberately, pause for two seconds on top, and descend gently. Removing the jumping intent gives you more time to practice balance and knee tracking.
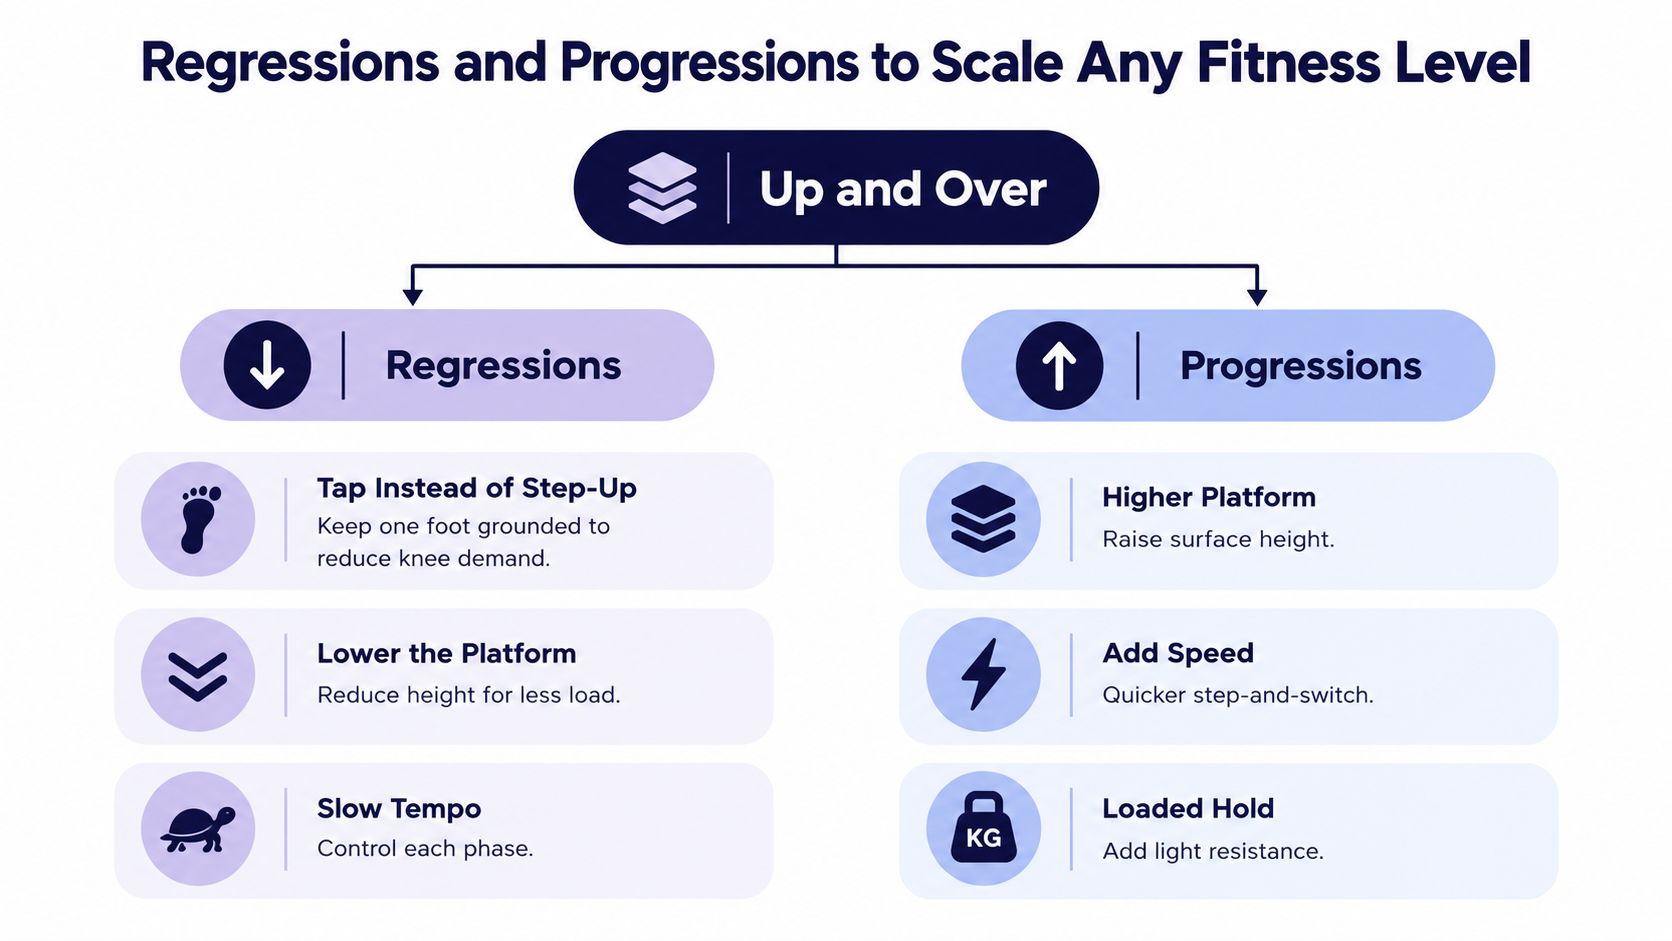
Three progressions
Raise the platform. Move toward a height around 12 to 16 inches only after your bodyweight repetitions remain controlled. More height demands more hip and knee flexion, so don't use it to compensate for weak balance.
Add a soft rebound. Switch feet in the air, then land softly with a bent knee. Keep the jump small. The landing matters more than how high you travel.
Add resistance. Hold light dumbbells or wear a weighted vest after you've established consistent bodyweight form. External load increases the consequence of every positional error, so keep the platform modest while you test it.
Use each change as a checkpoint, not a trophy. If the movement loses its shape, return to the previous level. You can also pair a scaled Up and Over with a bear crawl exercise when you want to train whole-body coordination without forcing the step itself to become more explosive.
Programming and Form Tips That Keep It Safe
Faster isn't safer, and it isn't always more effective. Up and Overs demand coordination first, then conditioning. If you rush before you can control the platform, your feet may switch quickly while your knees, hips, and trunk lose alignment.
Mayo Clinic identifies skipped warmups, overly rapid movement, and excessive volume as common contributors to poor weight-training technique. Its guidance recommends a 5 to 10 minute brisk aerobic warmup and controlled repetitions, as explained in its weight-training safety guidance.
Prepare before the first set
Use 5 to 8 minutes of ankle mobility, glute activation, and easy skipping or marching. Then perform two rounds at about half speed. These rounds aren't wasted time. They let you test the floor, platform, footwear, and your balance before the work becomes demanding.
Choose the format that matches the purpose:
- Technique: Perform 3 to 4 sets of 6 to 8 slow repetitions per side, resting until your foot placement stays precise.
- Conditioning: Use 4 to 6 sets of 30 to 45 seconds, followed by 30 to 60 seconds of rest, and stop before your landings become noisy.
- Power: Perform 5 sets of 4 to 6 explosive repetitions with full recovery between efforts.
Those ranges are practical programming options, not universal requirements. The final two repetitions should look like the first two. If they don't, reduce height, speed, or duration.
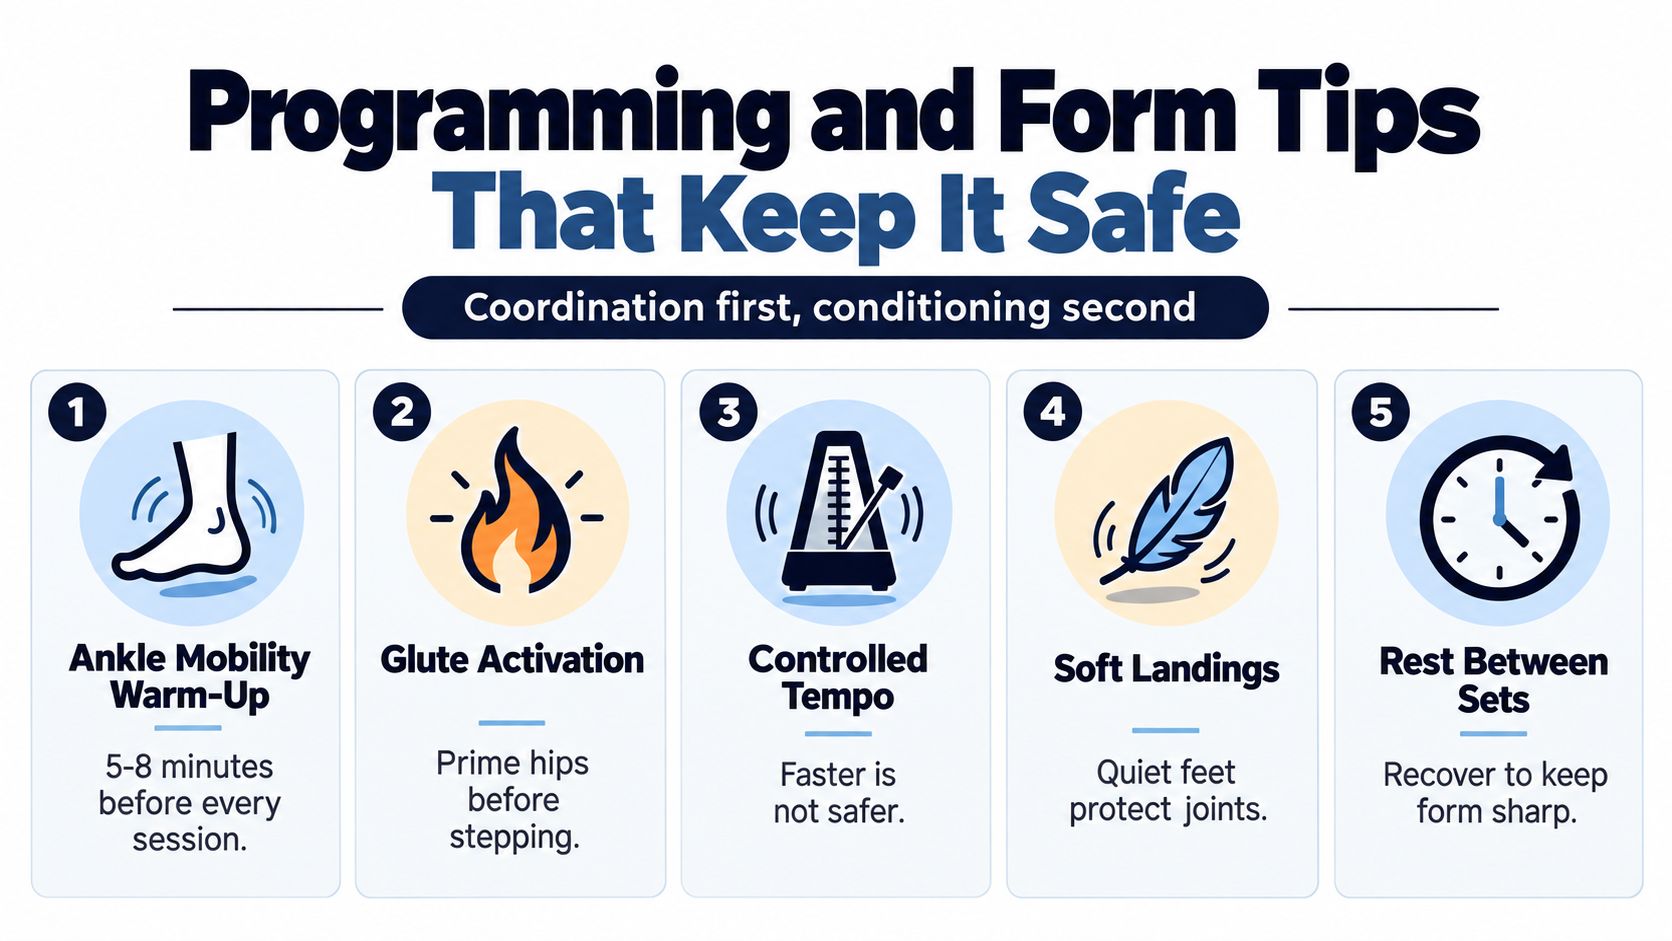
Keep the knees soft and tracking over the toes, ribs over the pelvis, and gaze forward. Exhale as you drive upward. If the floor is slippery, use a non-elastic exercise mat or change location. Persistent patellar-tendon soreness beyond 48 hours is a signal to reduce height or frequency before adding more work.
A simple bodyweight workout journal can help you record the platform height, variation, and how your landings felt. That information is more useful than chasing speed without knowing whether your mechanics held together.
How Up and Overs Compare to Simpler Step Drills
Up and Overs occupy a middle ground between controlled step-ups and easy marching drills. They require more rapid foot switching than a step-up, but they can be made less demanding than a full plyometric version by keeping the platform low and stepping instead of jumping.
| Drill | Heart Rate | Joint Load | Best For |
|---|---|---|---|
| Step-ups | Moderate | Lower when controlled | Stairs, hiking, and single-leg strength |
| Marching drills | Can rise quickly without impact | Lowest of the three | Warmups, balance-friendly conditioning, and limited-impact sessions |
| Up and Overs | Higher than ordinary step-ups because of the switch | Moderate, depending on height and speed | Agility, coordination, and quick side-to-side transitions |
Step-ups are the practical choice when your joints need a quieter session. They let you concentrate on pushing through one leg and controlling the descent, with a direct connection to climbing stairs or walking uphill.
Marching drills are useful when balance confidence is limited or you want to raise effort without jumping onto a surface. They train rhythm and alternating leg action, but they provide less exposure to lateral movement and landing skill.
Up and Overs make sense when you want your body to change sides quickly. That quality can carry into agility tasks, but the claim should stay measured. The available independent guidance describes potential strength, cardio, and agility benefits, yet it doesn't establish that Up and Overs outperform simpler drills on measured performance outcomes, as noted in this comparison-focused exercise guide.
Choose the simplest drill that delivers the quality you need. Complexity only helps when you can control it.
Your First Week of Up and Overs and Common Questions
Use the first week to learn your response, not to prove fitness. Keep the platform stable, use the lowest height that allows clean movement, and treat recovery as part of the plan.
A seven-day starting plan
- Day one, baseline: Warm up with easy ankle movements, glute activation, and marching. Perform 3 sets of 10 seconds of step-and-switch work on a 4-inch platform, resting comfortably between sets.
- Day two, recovery: Take a rest day or walk gently. Check whether your knees, ankles, and lower back feel normal during ordinary movement.
- Day three, tempo: Warm up, then use a 6-inch platform for 20-second intervals at a controlled pace. Complete a small number of intervals, resting until your breathing settles and your feet stay quiet.
- Day four, recovery: Avoid adding height or speed. Light mobility is enough.
- Day five, lateral introduction: Practice the lateral variation at a low height. Keep the movement step-based, perform short efforts, and stop if the knee drifts inward or balance becomes uncertain.
- Day six, recovery: Review which version felt most stable. Don't turn soreness into a test.
- Day seven, progress check: Repeat the easiest variation from the week and compare posture, breathing, and landing noise. Progress only if all three have improved or stayed consistent.
Adults often struggle to meet both aerobic and muscle-strengthening activity guidelines. In 2020, 24.2% met both, while 46.3% met neither, according to the CDC National Health Statistics report. A short, repeatable practice can therefore be a useful entry point, but it shouldn't replace individualized medical advice or all other forms of movement.
Common questions
How often can I do it? Start with separated practice days. Increase frequency only when your joints recover normally and technique remains consistent.
What about bad knees or tight ankles? Pain, swelling, instability, or a recent injury calls for professional guidance. For mild stiffness without pain, lower the platform, use taps, and avoid jumping.
When will conditioning look different? You may notice improved rhythm and tolerance before visible physical changes. Regular practice matters more than dramatic sessions.
When should you add height or weight? Add only one challenge after your bodyweight form is reliable. If breathing breaks down or landings become loud, you progressed too soon.
How do you know you're ready for a harder version? You can keep the knee aligned, torso stacked, foot placement accurate, and breathing steady throughout the set.
Screenshot this checklist before your next session:
- Stable surface: The platform doesn't move.
- Low starting height: You can control the full descent.
- Quiet feet: Landings are soft rather than stomping.
- Aligned knees: Knees track with the toes.
- Steady breathing: Exhale on the drive.
- Clear recovery: No worsening joint pain after training.
For a broader routine that combines short home movements with minimal equipment, explore this at-home no-equipment workout.
SuperStrong helps you organize short, at-home bodyweight sets and share them on a visual wall with up to four friends, making small training goals easier to see and repeat. If you want accountability for your Up and Over practice alongside simple bodyweight work, visit SuperStrong and start building a consistent home routine.