Wall Taps Exercise: How to Perform and Progress
 16 min
A wall taps exercise is a bodyweight coordination and lower-body endurance drill in which you alternately tap a surface with your hands or feet while maintaining control. In a 2023 study, mean wall-tap performance rose from 17 ± 1.7 to 21 ± 2.0 repetitions or time-based units after a six-week weight-loss program, with p = 0.005 (Journal of Exercise and Nutrition study). But rapid repetition isn't the point. The useful result comes from choosing the correct version, keeping the movement clean, and progressing only when control holds.
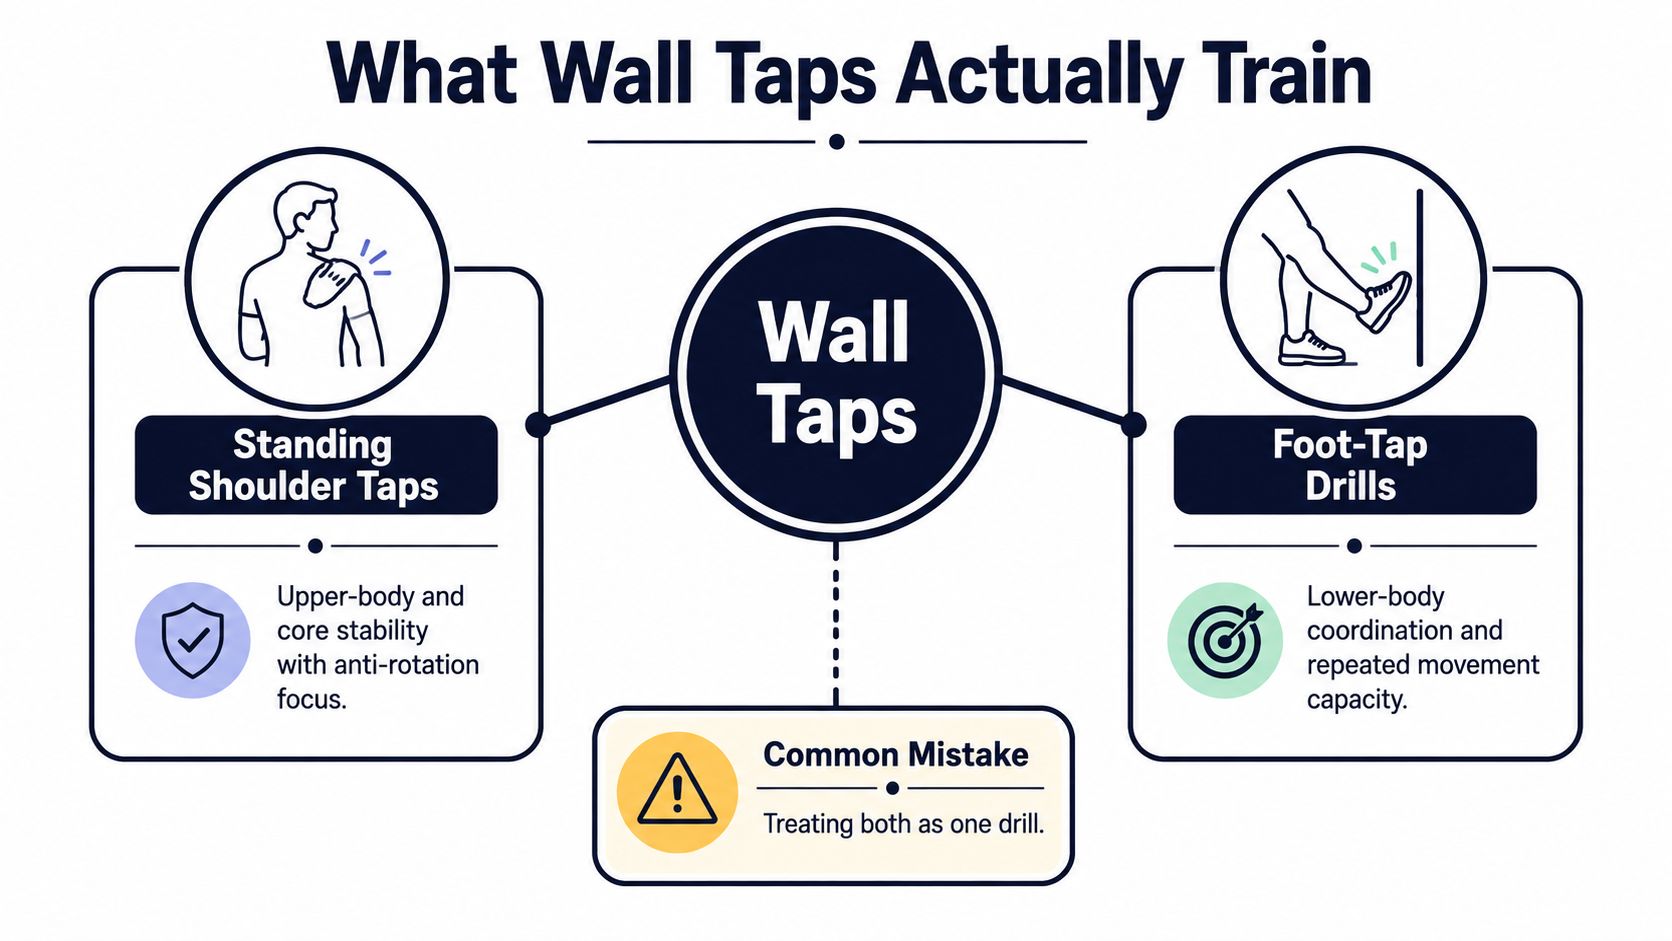
Have you ever copied a fast wall-tap drill and then wondered whether you were training your core, your shoulders, your legs, or just trying not to lose rhythm? That confusion is common because wall taps aren't one standardized global fitness test or one clearly defined exercise. The phrase covers at least two distinct patterns, and each needs different coaching.
Standing shoulder taps use the wall as a stable support while your hands alternate toward the opposite shoulder. Foot-tap drills use the lower limbs to contact a wall or marked target repeatedly. One emphasizes anti-rotation and upper-body control. The other emphasizes lower-body coordination and repeated movement capacity.
The practical rule is simple: define the version before counting the reps. A tap with the hand, an alternating foot contact, a timed sequence, and a per-side repetition aren't interchangeable scores.
Table of Contents
- What Wall Taps Actually Train
- How to Perform Wall Shoulder Taps
- How to Perform Foot-Tap Wall Coordination Drills
- Quality Benchmarks and Set Structure
- Common Mistakes and How to Fix Them
- Wall Taps Inside Short Home Workout Sets
- Closing Recommendations for Safe Progression
What Wall Taps Actually Train
Have you ever seen two people do "wall taps" against the same wall and come away training completely different things? That happens all the time, because wall taps are a category, not one fixed drill. If you do not define the version first, rep counts and timed sets stop meaning much.
Two patterns, two purposes
Standing wall shoulder taps train controlled weight shift through the upper body. You press into the wall, move one hand at a time, and try to keep the trunk quiet while the load transfers from side to side. Done well, this is less about chasing fatigue and more about resisting rotation, keeping the ribs and pelvis stacked, and feeling the support arm stay active instead of collapsing into the shoulder.
That makes the wall version a practical entry point for beginners, people returning to training, and anyone rebuilding pressing control before harder plank-based variations. The wall gives enough support to learn breathing, bracing, and shoulder positioning without forcing the full demand of a horizontal setup (Fitmetrics wall shoulder tap guide).
Foot-tap wall drills train a different quality. Here the stress shifts lower, toward rhythm, coordination, balance, and the ability to repeat clean contacts without posture falling apart. In youth testing, foot wall taps have been used inside broader motor-performance batteries alongside jumping, sprinting, squatting, and other movement tasks, which fits how coaches usually use them in practice: as a coordination and repeated-effort drill rather than a magic calorie burner (youth motor-performance study).
The failure points tell you what each version is really asking for. Shoulder taps break down when the hips swing, the low back takes over, or the support shoulder rides up toward the ear. Foot taps break down when the knees cave, the feet start slapping the wall without timing, or the athlete speeds up past the point of control.
Coaching rule: decide whether the set is testing stability or repeated lower-limb action before you count reps, set a tempo, or compare results.
That decision also shapes where the drill belongs in training. Shoulder taps pair well with pushing and trunk-control work, especially if you are building toward more demanding anti-rotation patterns such as a renegade push-up progression. Foot taps fit better in short, measurable coordination sets where clean contacts and consistent rhythm matter more than exhaustion, and where a shared wall makes it easy to keep everyone honest.
How to Perform Wall Shoulder Taps
The standing wall shoulder tap is the best starting point for most people searching for a controlled wall taps exercise. It gives you enough support to learn the weight shift instead of disguising poor control with speed.
Set your position
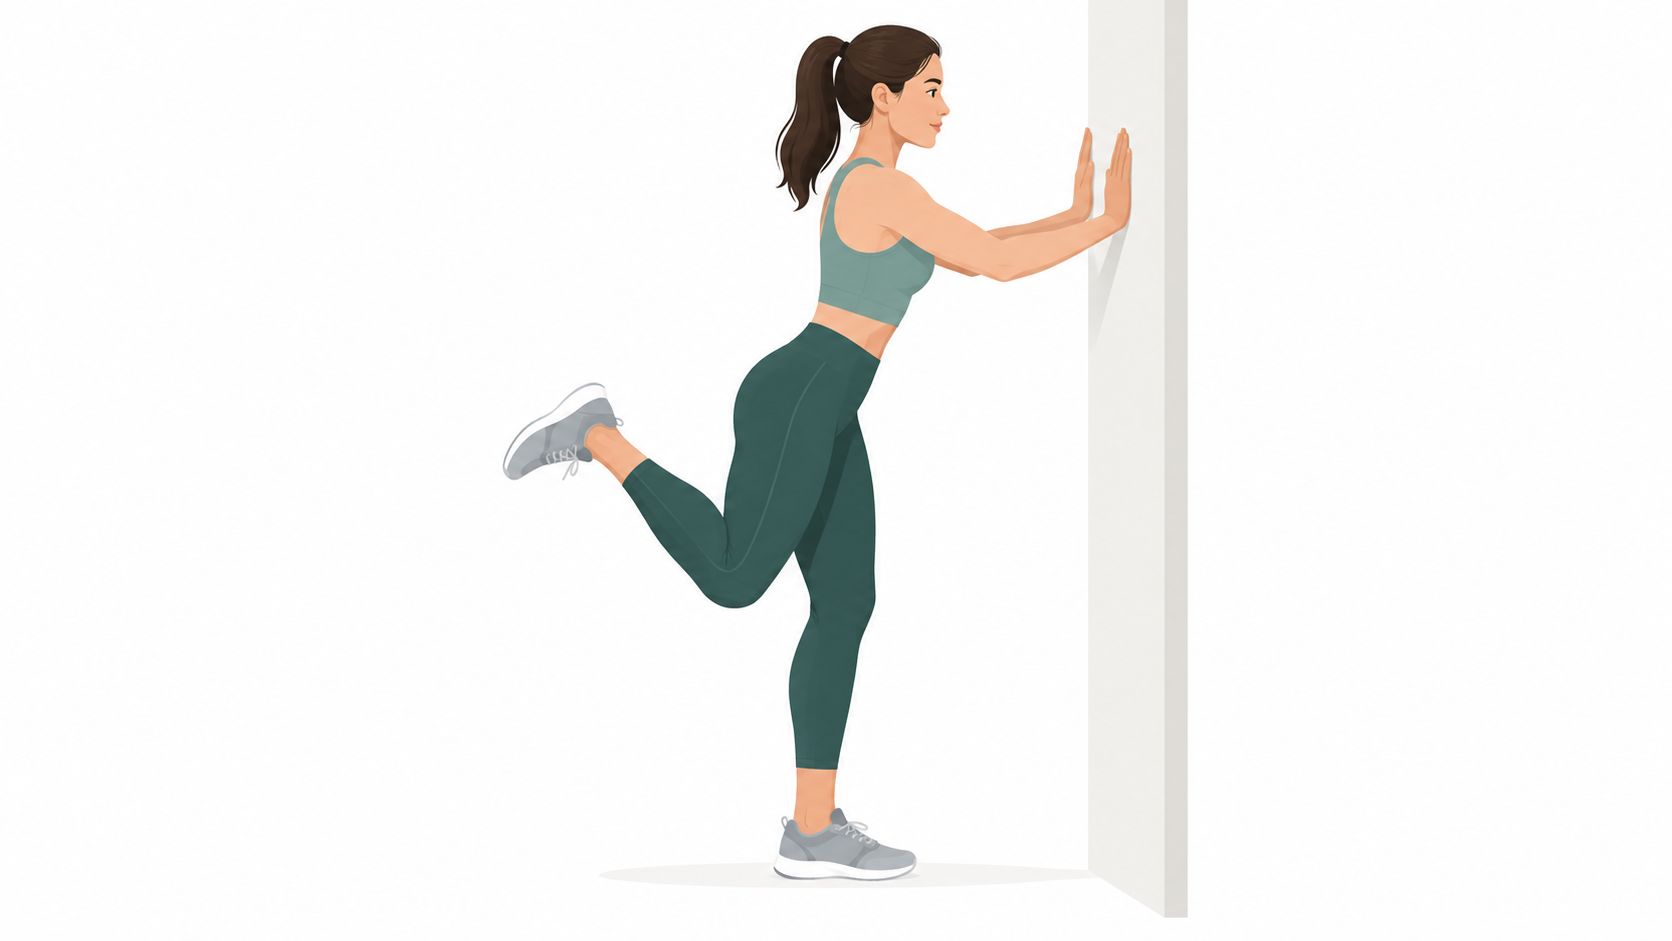
Stand facing a wall at approximately arm's length. Place your palms at shoulder height, with your hands roughly shoulder width apart, then step your feet back until your body forms a straight line from head to heels.
Brace your abdominals gently and squeeze your glutes. Don't clamp your ribs down aggressively or hold your breath. You want a firm trunk that still lets you breathe.
A slightly wider foot stance creates a larger base of support. That reduces unnecessary trunk rotation and gives a beginner time to feel the weight transfer. As confidence improves, you can narrow the stance or move the feet farther from the wall to increase the body angle and loading.
Make each contact deliberate
Shift your weight gradually into one arm. Lift the opposite hand, reach across to tap the opposite shoulder, return that hand to the wall under control, and alternate sides.
The moving hand isn't the main challenge. The support arm and trunk must prevent the pelvis and rib cage from following it. Keep both hips pointing toward the wall, avoid shrugging the supporting shoulder, and let the hand return softly rather than slapping the surface.
Exhale during the tap. Inhale as the hand returns or before the next exchange. This breathing pattern helps prevent the breath-holding that often appears when the set becomes difficult.
A useful first target is six alternating contacts per side, but stop earlier if your torso begins to rotate or your shoulder loses position. The right speed is the slowest pace that lets every tap look and feel the same.
For a visual demonstration of the wall-supported pattern, use the embedded movement video below.
How to Perform Foot-Tap Wall Coordination Drills
Want a wall tap drill that builds coordination instead of turning into random fast feet?
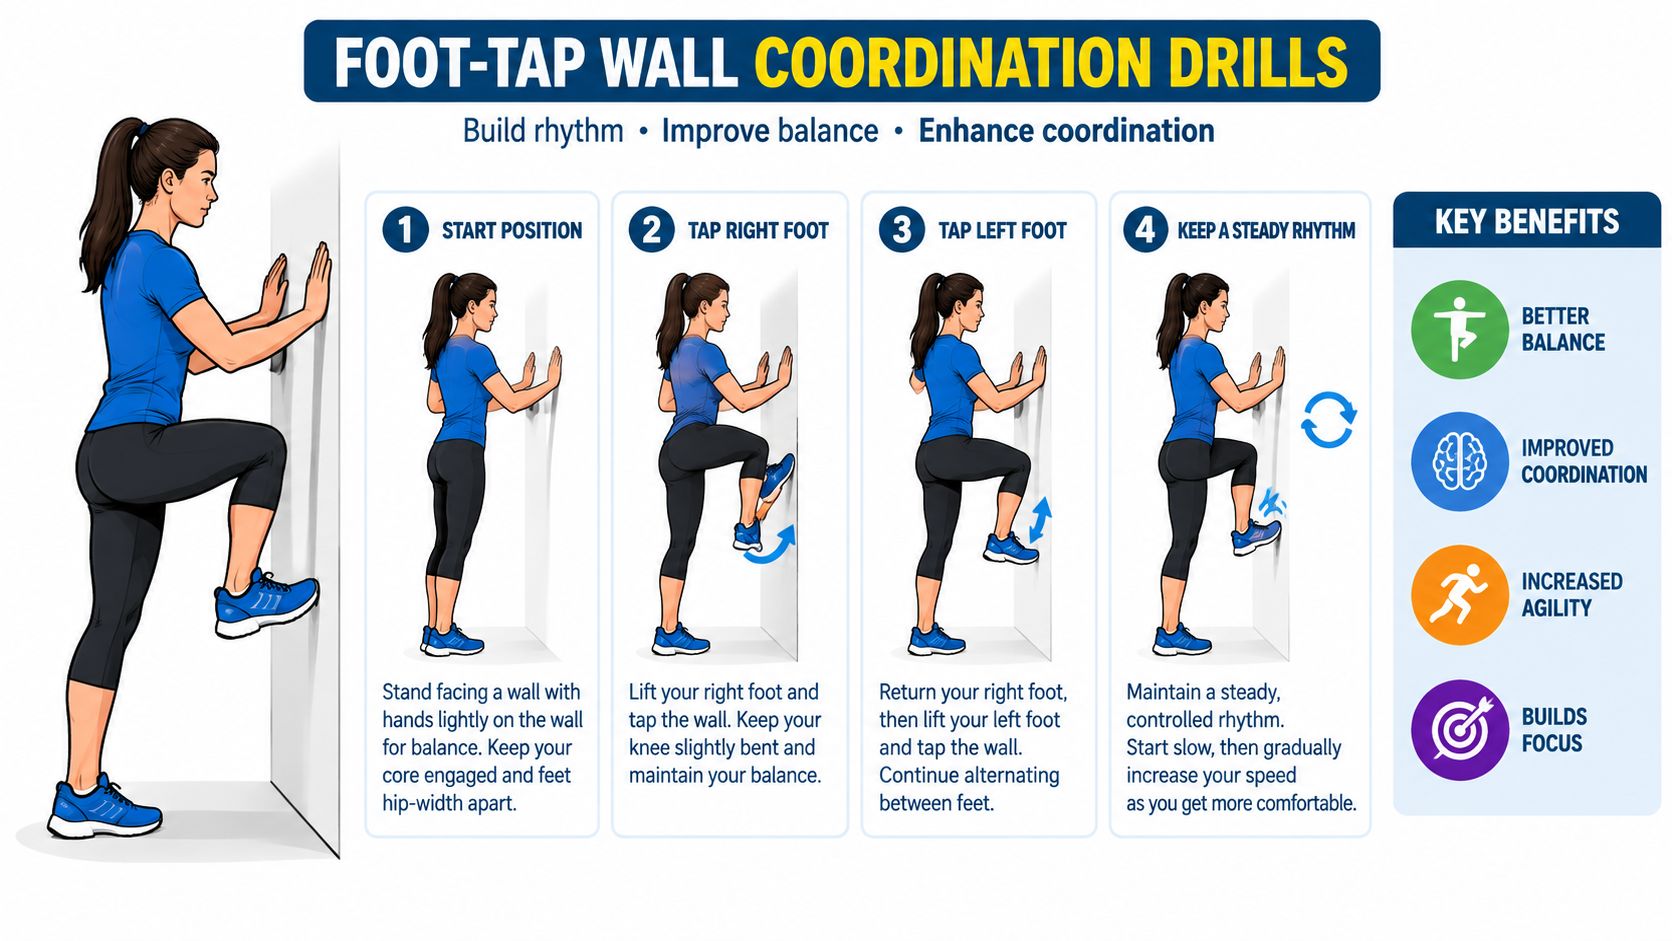
Foot-tap wall drills work best as a lower-body rhythm and repeatability exercise. They are not the same as wall shoulder taps, and they should not be coached the same way. The goal is clean foot placement, balanced posture, and a pace you can reproduce from set to set. That is what makes the drill useful in short, measurable home sessions, especially if you are tracking rounds against the same wall and the same target.
Establish a repeatable target
Face the wall from a distance that lets you tap without reaching or pitching your chest forward. Pick one contact point, such as the base of the wall or a small mark, and keep that target unchanged for the whole set. If the target keeps moving, the drill stops telling you anything.
Stand tall. Keep the rib cage stacked over the hips, eyes forward, and the upper body quiet. Alternate feet, tap lightly, and return each foot under the body before the next contact. Good reps feel springy but controlled. You should hear a light tap, not a stomp, and you should feel weight shift from side to side without the knees caving in or the torso swaying.
Let the arms stay relaxed or swing naturally. Do not let them turn the drill into a scramble. The cue that usually cleans this up fastest is quiet upper body, precise feet.
Coach the fatigue signal
This drill falls apart when athletes chase speed before they can hold rhythm. Once misses come from rushing instead of honest coordination limits, the set has gone past its useful point. I would rather see a shorter, cleaner bout than a long set full of clipped taps and sloppy posture.
Protocol changes the training effect. Some versions count alternating contacts. Others count each side separately or use time. As noted earlier in the youth motor-performance battery discussed earlier, foot wall taps are one part of a broader coordination test, not a score you can compare casually across different setups.
Record the version, target height, and counting method each time. If you use timed work, record that too. Consistency is what makes this drill accountable. Without it, raw totals do not mean much from one session to the next.
Quality Benchmarks and Set Structure
How do you know a wall tap set is doing its job instead of just making you feel busy?
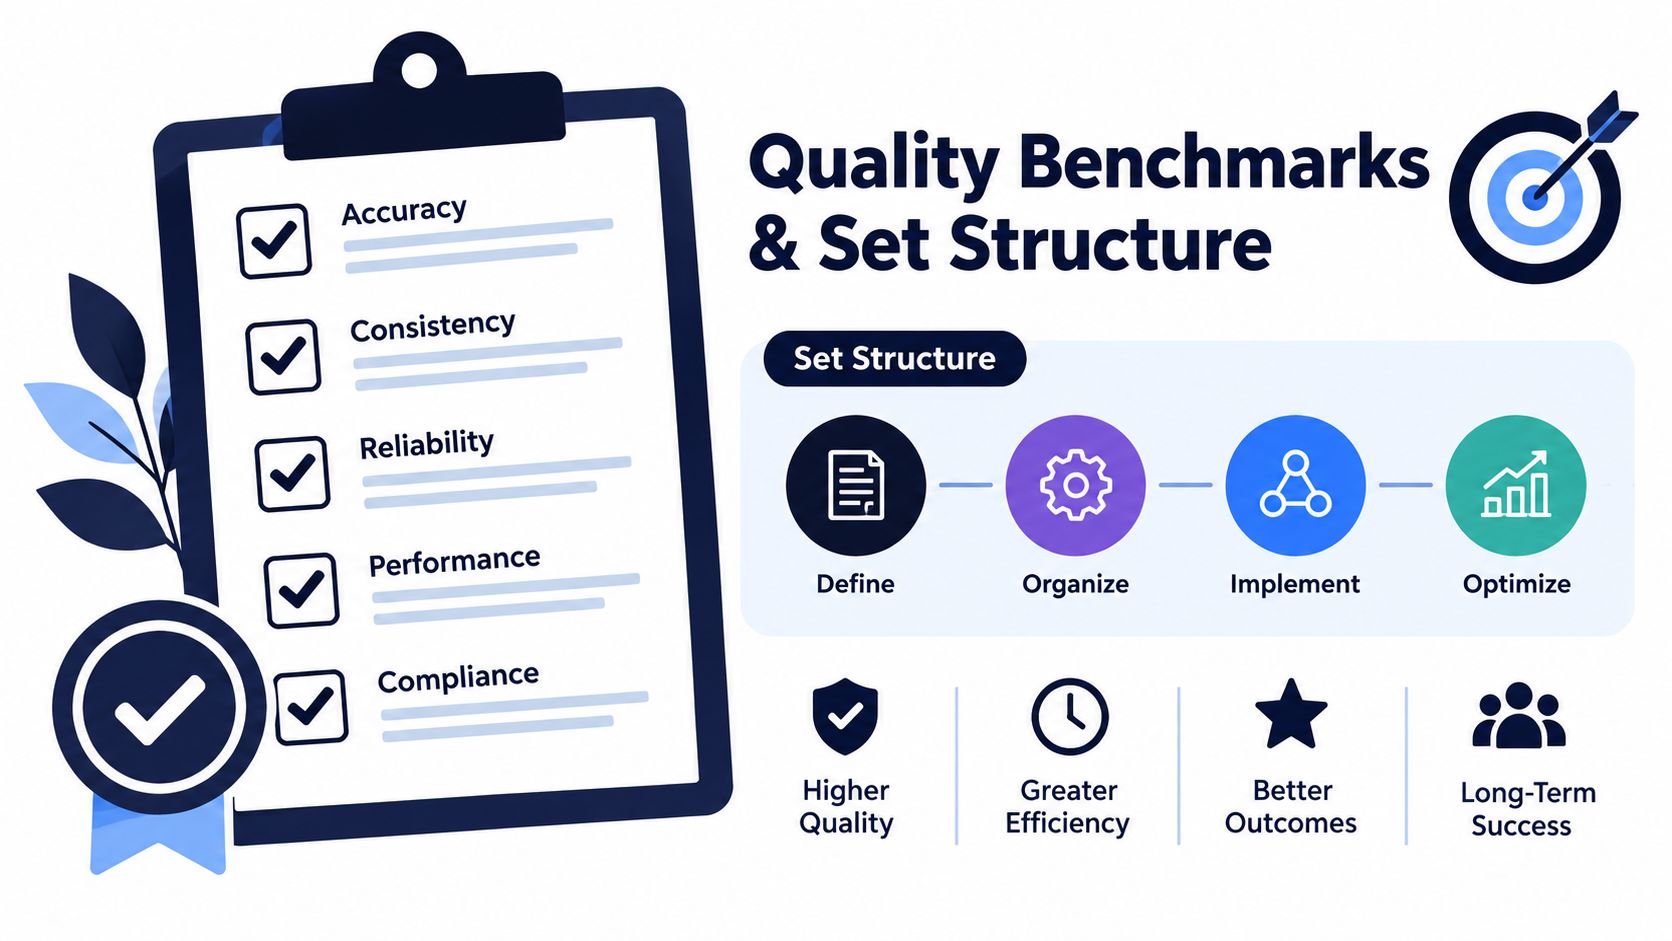
Use a standard that rewards control. Wall taps work best as a protocol-dependent coordination and endurance tool, not as a magic calorie burner and not as a drill you race through. For shoulder taps, a solid working range is 2 to 4 sets of 6 to 12 controlled taps per side from a stable incline position, with one clear tempo and one counting method kept the same across sessions (plank-variation guidance).
Quality is the load here. If the ribs flare, the hips drift, the support arm softens, or the hand slaps the wall to save the rep, the set has already changed. I stop it there.
A useful progression test is simple. Hold each tap for about three seconds and complete 6 clean reps per side before you add distance from the wall or extend the set. That standard tells you more than chasing extra reps with half-stable positions. It also keeps shoulder-tap progressions separate from foot-tap wall drills, which are usually built around rhythm, contacts, and coordination under a different setup.
Use the smallest adjustment that restores clean reps:
- Need more support? Widen the feet and move closer to the wall.
- Need less total fatigue? Cut the set before form slips, then rest.
- Ready to progress? Step farther from the wall, but keep the same tempo and body position.
- Tracking output? Record whether you count alternating contacts, per-side reps, or timed work.
Timed sets can work, but only if they stay honest. A 30 to 45-second interval is fine when the goal is short, measurable endurance, yet counted reps are often better for beginners because the finish line is tied to execution instead of grit. As noted earlier, wall-tap performance rose from 17 to 21 units, with p = 0.005, after six weeks. That gives context for measurable improvement, but it does not give you one universal target for every version.
Accountability matters here. Log the exact version, stance, distance from the wall, tempo, and counting method in a bodyweight workout journal. That shared-wall mindset keeps sets short, repeatable, and comparable. A smaller score under the same rules beats a bigger number from a different setup every time.
Common Mistakes and How to Fix Them
Simple exercises don't stay simple once fatigue arrives. The wall gives you feedback immediately, but only if you pay attention to the position of your hands, hips, shoulders, and breath.
Hands too high or too close
Hands placed above shoulder height can make the movement feel awkward and encourage the shoulders to shrug. Hands placed too close together reduce your base of support and make trunk rotation more likely.
Set the palms around shoulder height and roughly shoulder width. If control still breaks down, widen the feet and move closer to the wall before changing anything else.
Hips sway from side to side
Hip movement is the clearest sign that the trunk is following the lifted hand. The drill then becomes a side-to-side weight shift rather than anti-rotation practice.
Slow the exchange. Squeeze the glutes, brace the abdominals, and imagine balancing a glass on the pelvis. If that cue doesn't work, shorten the set or widen the stance.
The lower back arches
An arched lower back usually means the ribs have lifted or the abdominals have stopped contributing. Don't respond by forcing a hard posterior pelvic tilt. Instead, reduce the body angle by stepping closer to the wall and exhale during the tap.
The shoulders rotate toward the moving hand
Clean execution keeps the rib cage and pelvis relatively quiet while one arm supports the body. If the shoulder chases the hand, return to alternating weight shifts without lifting the hand, then reintroduce small taps.
You hold your breath or train through pain
Breath-holding often appears when the set is too long or the pace is too aggressive. Use shorter sets and exhale with each tap. Pain is different from effort. Don't train through painful shoulder loading, and use a gentler wall angle or seek individual clinical guidance if symptoms persist.
The best regression isn't stopping forever. It's reducing the demand until the intended movement becomes repeatable.
Wall Taps Inside Short Home Workout Sets
Wall taps work well in a micro-workout when you treat them as movement practice, not as a complete fitness solution. A short set can rehearse shoulder control or lower-body rhythm, break up sitting, and give you a measurable task without requiring a gym or complicated setup.
Build the set around variety. You might perform controlled standing shoulder taps, walk for a brief interval, then add a light lower-body movement. If the goal is more aerobic, use the talk test. You should be able to speak, with the difficulty adjusted according to whether you can comfortably maintain conversation.
The broader exercise-snack literature gives useful boundaries without proving that wall taps alone deliver the same benefits. A 2025 systematic review and meta-analysis included 12 randomized controlled trials and two non-randomized studies involving 483 adults. The exercise snacks in that literature typically lasted 1 to 5 minutes, occurred 2 to 8 times daily, and ranged from light to vigorous intensity (systematic review of exercise snacks). The reported benefits were most credible for cardiometabolic outcomes and fitness in inactive adults, while the review found no significant effects on body weight, body fat, HDL cholesterol, or triglycerides.
That distinction matters. Wall taps may help you practice movement and interrupt inactivity, but they shouldn't replace varied strength and aerobic work when those are your goals. Logging each short set on a shared wall, where friends can see the effort and respond, can make consistency easier without pretending that a tile represents a complete training plan.
A practical home routine can pair the drill with the broader principles of an at-home no-equipment workout: use a small target, repeat it consistently, and increase the challenge only when the current version feels easy and controlled.
Closing Recommendations for Safe Progression
Choose the wall-tap version by the quality you need, not by the version that looks fastest online. If balance, shoulder confidence, or return-to-training status limits you, standing wall shoulder taps provide a supportive entry point. If you want more loading, move the feet farther from the wall and keep the body line organized.
A floor shoulder tap is a later progression, not an automatic upgrade. Earn it by controlling hip rotation, maintaining a stable trunk, and breathing normally during the wall version. If the floor variation causes the pelvis to swing or the shoulder to lose position, return to the wall and rebuild the pattern.
For foot-tap drills, use a consistent target and counting method. Treat the drill as lower-body coordination and repeated movement practice, not as a substitute for a complete leg-strength or aerobic program. Your score only means something when the version, target, pace, and counting rules stay consistent.
A simple decision framework
- Choose standing shoulder taps when you need a stable way to practice anti-rotation and shoulder support.
- Choose foot-tap drills when your priority is rhythmic lower-limb coordination and repeated contacts.
- Regress immediately if your hips sway, your back arches, your shoulder collapses, or your breathing stops.
- Progress gradually by changing one variable, such as foot distance or stance width, while preserving quiet hips and controlled contacts.
- Track quality first, then repetitions or time. A clean set that ends early gives better information than a rushed set that produces a larger number.
Wall taps are useful because they require little space and make control visible. They aren't magic calorie burners, universal fitness scores, or a replacement for varied training. Use them as a precise tool for coordination, endurance, and short-set accountability, then let the quality of the movement decide when you advance.
SuperStrong helps you organize short bodyweight sets on a shared visual wall with up to four friends, so a controlled wall-tap session becomes visible and easy to track. Visit SuperStrong to turn small, repeatable efforts into a simple shared training rhythm.